
Roller Shade Installation | 5 Things you Need to Know
04-Nov
Thinking of roller shade installation? When designing your home or specifically your room, what should be popping in your mind? Perhaps, you will think about attractive furniture and decoration pieces. You can also think about some carpets and wall paintings as well.
But what about windows? Are you going to keep your windows uncovered? If not, then you must go for something modern, and in that case, roller shades would be the best choice for you.
Don’t know what roller shades are and what is the procedure of roller shade installation? If so, go through this comprehensive article thoroughly because it is a beginner’s guide for you about roller shade installation:
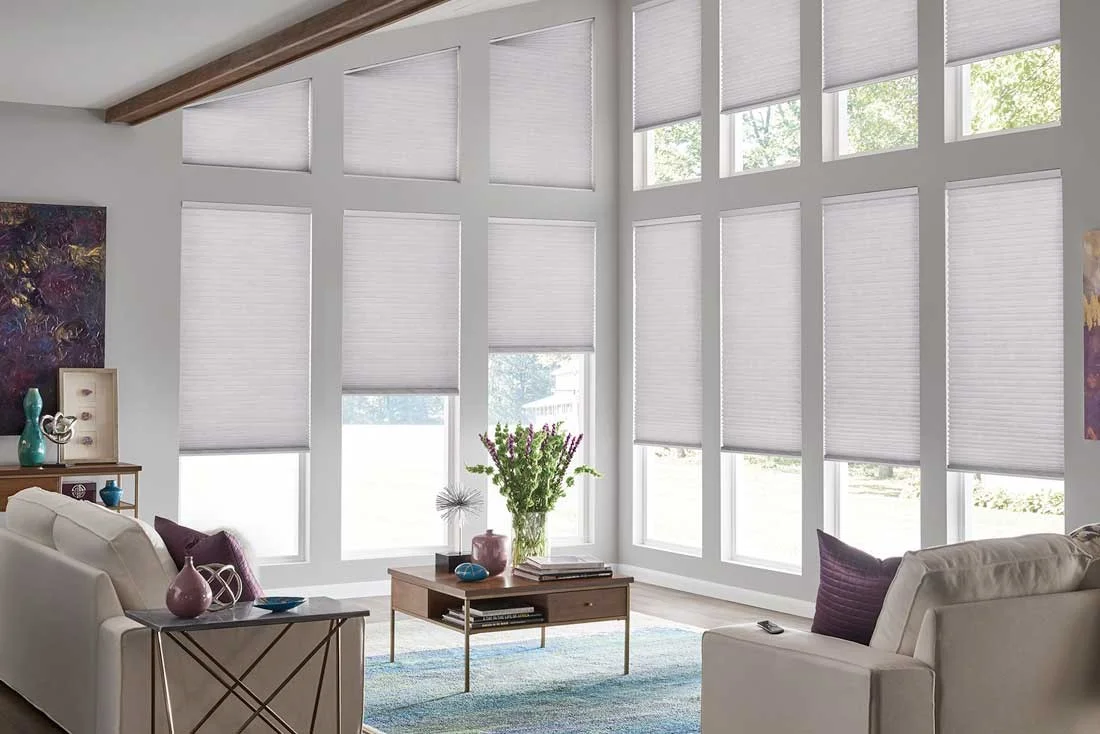
What are Roller Shades?
In simplest words, shade is the material used to cover a window, while roller shade is the type of shade that rolls. Roller shades are gentle and simple shades that are quite versatile for your window treatment. Because, unlike curtains, roller shades suit all types of decorations no matter what the interior design is, they will fit your internal or external window system best.
Mechanism of Roller Shades
The mechanism of roller shades is quite simple as they are just supposed to roll up and down on your windows to cover them. A chain or sidewinder mechanism is used here that is used to uncover or cover your window treatment. This chain is installed in the bracket, and you need to pull the chain to uncover or cover your window, and that’s it.
How to do Roller Shade Installation Yourself?
While talking about all window treatments, roller shades are pretty easy options but are still extremely stylish and modern. You must be glad to know that you need under 30 minutes to spare for roller shade installments yourself.
If you think that roller shade installment is a thing of professionals, we are sorry to say you are wrong. Because it is a quite easy procedure that you can do yourself without any big issue. You don’t need any professional tool or skill for that. You need simple and easy tools that are present in your home toolbox.
Step by Step Procedure of Roller Shade Installation
Here are a few easy steps that will help you in installing roller shades at your home without much effort:
Gather Important Things
This step is added upfront to make your work easier. So, if you don’t like tangled work, then this step will be perfect for you. So, go and find the tools that you need for roller shade installation, and those tools are:
- A Drill
- Drill bits
- A tape measure
- A pencil
- A screwdriver
- A pair of pliers
- A stool or ladder to step up on it
Every tool has a different function, like a ladder will help you reach your window frame comfortably. These are mostly used tools while roller shade installation, but you should ask the seller of roller shades about different tools from whom you will buy those shades.
Start with Brackets
If you have bought roller shades, you must have seen two brackets with every roller shade that you will (or have) buy. These brackets are used to hold and keep shades in their place. So, you have to measure everything closely because if you place brackets incorrectly, your roller shades will be misplaced or extremely difficult to adjust.
You have to keep brackets at a distance of at least ¼ inches from the window. It would be best to use a measuring or inch tape to do it and then mark the points of brackets with a pencil. It is good to use an erasable pencil instead of a ball pen. Moreover, you have to mark the locations of screws as well. You can also use a laser level to confirm locations from left to right.
- Note: Mount location, height, and length of your window and window frame must be determined nicely by taking much time. You should take proper time in this process as it is one of the most crucial points of the installation.
Place your Brackets
You have to place or mount your bracket on the wall where you have put all the marks around the window frame. Make sure to place your brackets on their marked places, so that screw holes and marks are at their initial positions.
You can also come across some kind of roller shades that come up with just left and right brackets. Here you have to do a different job in which you have to do some talk with the manufacture or seller of those roller shades. They will give you some instructions in that case.
Insert Shades
Now, after the bracket placement, you have to do the last roller shade installation task. Now, please pick up the roller shade and put it in the right place. But please remember that you have to put the pin end of the roller shade into the bracket first. You are now done with probably the easiest way of installing roller shades. You can also insert and install cords for more safety.
Why Should you do Roller Shade Installation Yourself?
Here are some common reasons that will urge you to install roller shades in your home yourself without any worker:
To Save Money
Perhaps, the most important thing in a common person’s life is saving as much money as possible. And if you can save money while changing your interior design and specifically your treatment, why would you not go for it.
To Do it When you Want
If you are always irritated by those calls of workers and technicians, then you can keep them out of your way by doing your work yourself. It is a DIY (do it yourself) thing, so you can do it whenever you want. If you work from 9 to 5 (in an office), you can do it after you depart from the office without any difficulty.
Conclusion
After roller shade installation, you will always want to keep it maintained. Right? So for that, you have to contact the manufacturer of those roller shades and get some instructions from time to time.